;)

For this series I will be using the CentOS 6.4 Linux distro. CentOS is based upon the Red Hat Enterprise architecture, so this article should be applicable to Red Hat and other Red Hat based distros. Some of the commands may or may not be applicable in other distros. For this reason, I have tried to explain what is happening in each, so you can apply the same steps in your environment.
*A note to people who may be new to Linux: most of the commands listed in this post will be case sensitive.
The four posts in this series are:
Part 1: Create VM – Creating the VM and Installing CentOS 6.4
Part 2: Configure VM – Installing the Hyper-v Integration Services and Configuring the Network Adapter
Part 3: Prep VM – Prep the VM to Become a Template
Part 4: Create Template – Creating the VM Template in VMM
Part 1: Create VM – Creating the VM and Installing CentOS 6.4
The first thing we need to do in order to create the template is to create the VM and install CentOS.
Download the CentOS 6.4 iso. (http://www.centos.org/modules/tinycontent/index.php?id=30) This link contains a number of mirrors that contain the CentOS images. For this post I am using the CentOS-6.4-x86_64-bin-DVD1.iso that should be located in the folder /6.4/isos/x86_64/ of the mirror. Not all contain the full ISO so you may need to check a couple of the mirrors. Once you have downloaded the ISO, you are ready to begin.
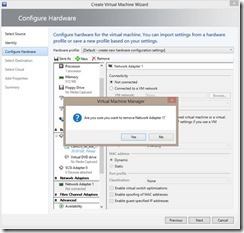
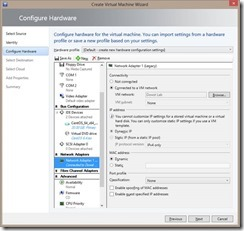
Create a Virtual Machine (VM) with a Legacy Network Adapter and attach the CentOS install ISO to the DVD drive.
Start the VM and connect to it. (I find it easier to use Hyper-V manager as opposed to the VMM console for this portion.)
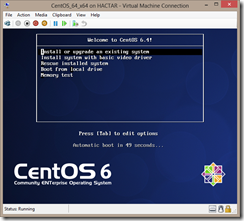
Select Install or Upgrade an Existing System
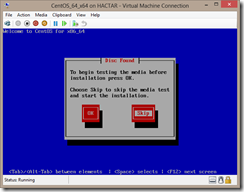
Choose whether or not to scan the install media.
Next
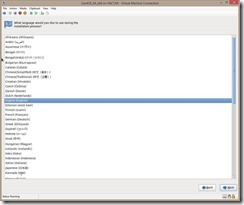
Choose your language
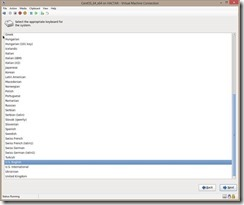
Choose keyboard layout
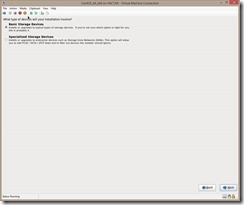
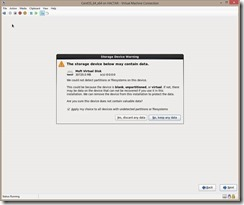
Select Basic Storage Device
Yes, discard any data
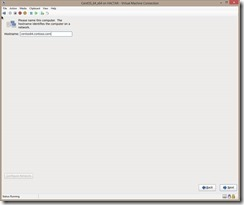
Enter the FQDN you want to use for the VM
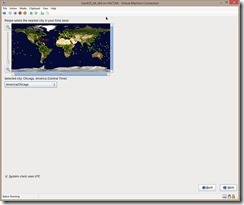
Select your time zone
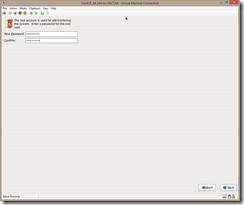
Enter a strong root password
Use All Space
Write change to disk

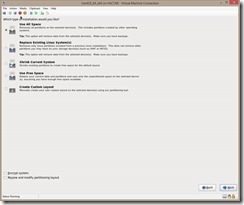
Select your install type (Since this is going to be a server template, I picked Basic Server)
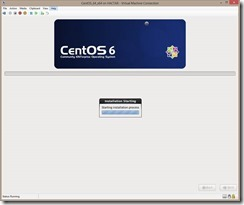
The install process will begin.
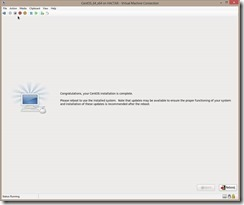
When the install finished click Reboot
Now that we have the OS installed, we are ready to install the Hyper-V Integration Services and configure the network adapters.